
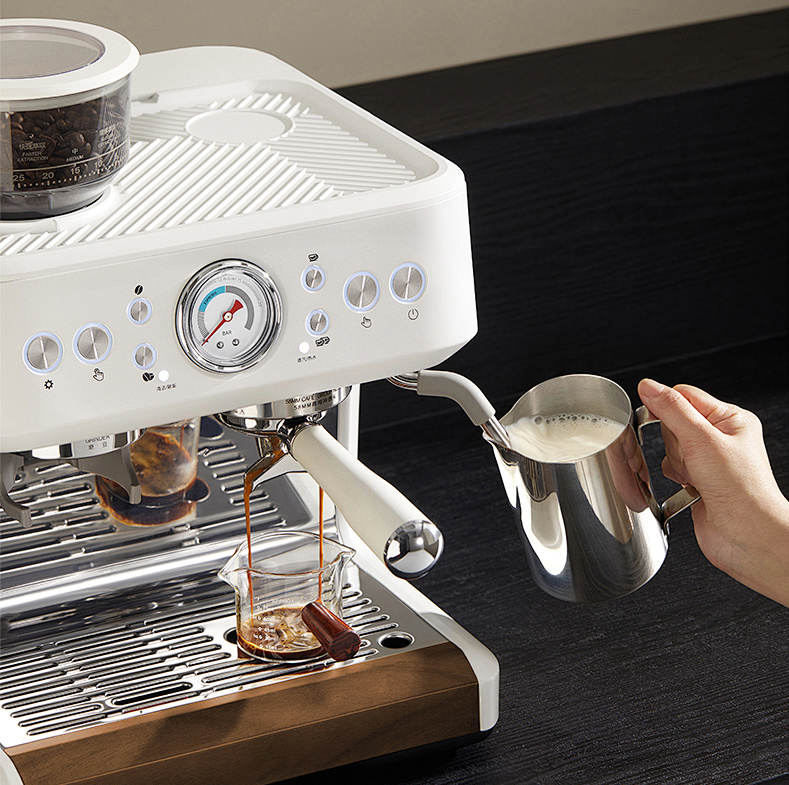
If you’ve ever wondered why your latte sometimes feels silky and other times a bit bubbly, you’re not alone. Even with a bean-to-cup coffee machine, milk foam texture can vary a lot. The good news is, you don’t need to be a barista to control it — with the right adjustments, your drinks can taste consistently smooth and professional.
In this article, I’ll share real, practical methods to fine-tune foam quality, whether you’re brewing at home, in an office, or running a café.
Why Milk Foam Texture Matters
Milk foam isn’t just decoration on top of a cappuccino. It changes:
- Mouthfeel – a silky microfoam blends with espresso, while big bubbles feel harsh.
- Flavor balance – textured milk highlights sweetness and reduces bitterness.
- Presentation – consistent foam makes latte art and professional service possible.
Think of foam texture as the bridge between your espresso shot and the customer’s first sip.
1. Start with the Right Milk
Your machine can only do so much if the milk isn’t suitable.
- Whole milk usually creates the richest foam.
- Skim milk makes more volume but thinner foam.
- Plant-based alternatives like oat or soy can work, but not all brands froth equally.
I personally prefer barista-formulated oat milk when making lattes with my bean-to-cup machine — it gives a texture close to dairy without splitting.
2. Adjust the Frothing Settings
Most bean-to-cup coffee machines have programmable milk settings.
- For cappuccinos, select higher foam density.
- For lattes, reduce the froth for a creamier pour.
- Some machines even allow you to save custom foam profiles for future use.
Pro tip: If you share your machine with others in an office, lock in your preferred settings to avoid inconsistency.
3. Temperature Is Key
Foam quality depends heavily on heat.
- Ideal steaming temperature: 60–65°C (140–149°F).
- Too low: the foam collapses quickly.
- Too high: milk burns, creating a bitter aftertaste.
A café client of mine once had frequent complaints about “scalded milk.” After calibrating their machine to stop steaming just under 65°C, complaints turned into compliments within a week.
4. Keep Your Frother Clean
Residue is the silent killer of good foam.
- Wipe the frother after every use.
- Run a cleaning cycle at least once daily.
- Descale monthly if your machine recommends it.
Clean equipment doesn’t just improve foam — it extends the machine’s lifespan too.
5. Practice, Observe, Adjust
Even though the machine automates much of the process, you still play a role.
- Watch the bubbles: microfoam should look glossy, not bubbly.
- Taste-test regularly; don’t rely only on appearance.
- Adjust in small steps — changing multiple settings at once makes it hard to track improvements.
(Related reading: check our “How Can I Make Coffee Taste Consistent with an Automatic Coffee Machine?” this blog)
A Real Example: Small Café, Big Difference
One small café in Singapore struggled with inconsistent cappuccinos from their bean-to-cup machine. Staff would switch milk brands daily and skip cleaning cycles. After standardizing milk choice, fixing frother settings, and adding a quick cleaning routine, their customer ratings on coffee quality improved by 40% in a month.
Final Takeaway
So, what’s the best way to adjust milk foam texture in a bean-to-cup machine?
It’s not just one trick — it’s a combination of choosing the right milk, dialing in frother settings, controlling temperature, and keeping equipment spotless. Once you master these steps, your cappuccinos and lattes will stay consistent, whether it’s your first cup of the day or your fiftieth.
Want to learn which bean-to-cup machine gives you the most control over milk texture?
Contact us — our team has helped offices, restaurants, and cafés find machines that deliver professional results with minimal training.
FAQ – Milk Foam in Bean-to-Cup Machines
1. How do I make my milk foam smoother with a bean-to-cup machine?
Use whole milk or barista oat milk, adjust frothing settings, and avoid overheating.
2. What’s the ideal temperature for milk foaming?
Around 60–65°C (140–149°F) for stable microfoam without burning.
3. How often should I clean the milk frother?
After every use, with a deeper cleaning at least once a day.
4. Can plant-based milk create good foam?
Yes, but choose “barista” versions of oat, soy, or almond milk for better stability.
5. What’s the difference between cappuccino and latte foam texture?
Cappuccinos need drier, airy foam, while lattes require silkier, creamier microfoam.